interior architectural shooting tips
Last week I assisted former clients in photographing their condo they are looking to rent and a piece of commercial real estate property with investment potential. Not the sort of thing that typically pays the bills, but I’m always up for a challenge to keep well-versed in different types of photography. I think of it as spring training. In wedding industry, photographers must be able to shoot portraits, details, landscapes, emotion, moments… all without missing a beat, regardless of lighting conditions, weather, or how perplexed you might feel. Practicing the fundamentals in off-beat projects is a great way to keep well-rounded. Think of it as Spring Training.
It’s good to return to the fundamentals of what makes a good picture… sometimes the technical merit isn’t of paramount importance. Rather, the greater purpose the image serves. Fulfilling that need presents value. In wedding images, it might be to remember fond memories. In commercial, advertising, fashion photography it is all about selling a product. In the end, it is all about creating an image that has a ‘perfect fit for use.’
Not sort the thing I market myself as, but a good skill to know when helping out a friend. Kind of like knowing how to change of tire or jump start a car battery on a blustery winter evening. As an official disclaimer, I am in no way an architectural photographer by trade. But I know enough to be dangerous. In fact, we rented our old place on craigslist in a blink of an eye because of well-lit, wide-angle images featured in a Showit slideshow. And we still reminance about the place we used to call home with those photos. It isn’t difficult, and if you can help a friend out in this economy, good photos can make the sale easier.
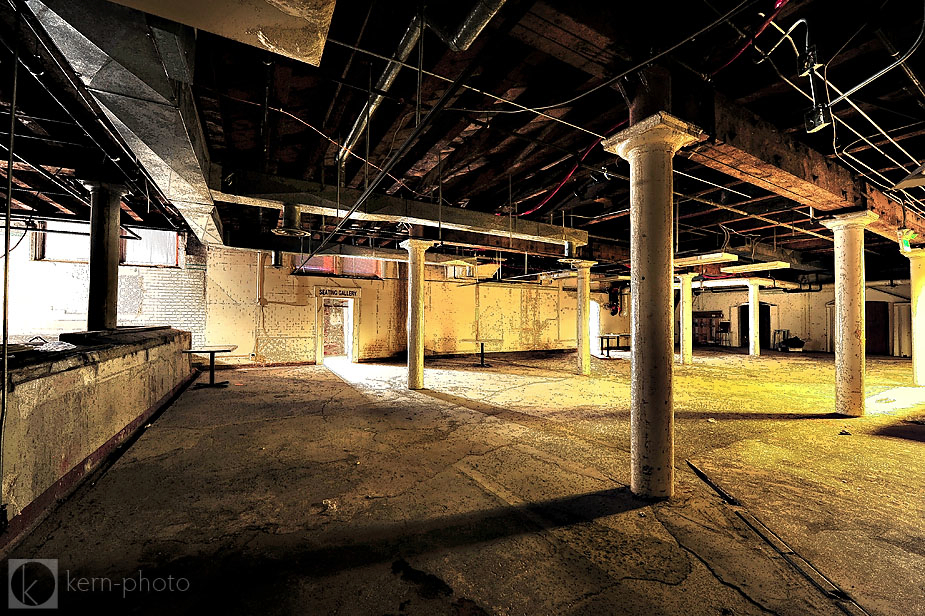
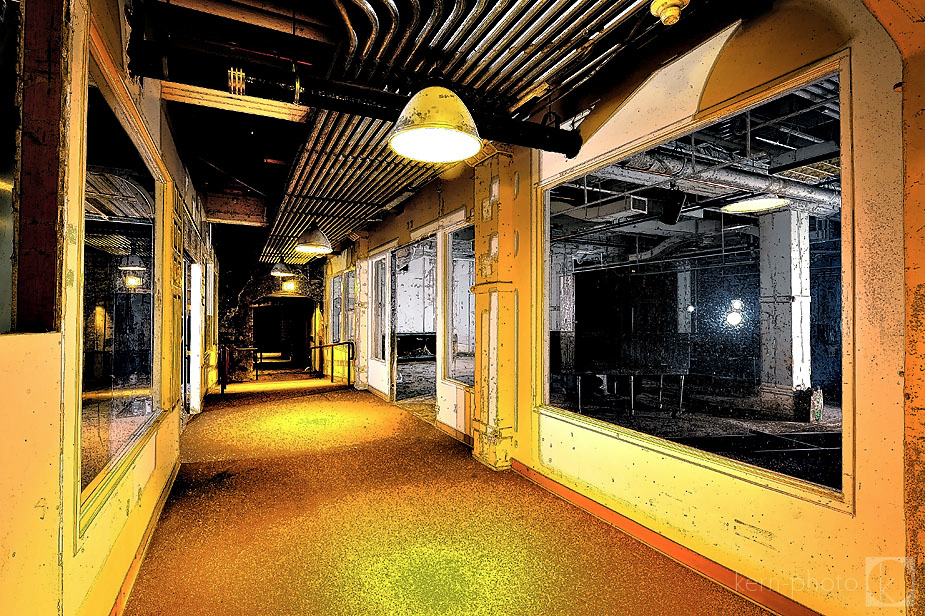
My client required not “perfect images” but quick sketches illustrating what could be used in marketing materials aimed at finding investors and a tenant for a commercial real-estate place.
My solution? Shoot them well, then convert them to an ink sketch with a click of a button in Adobe Photoshop CS3. Check out the Filter >> Brush Strokes >> Ink Outlines. I chose to dodge & burn the final images to boost up the dynamic range. What could have been a 30 hour drawing project turned into a nice artist-sketch deliverable, worthy of attention from potential investors.
The lighting for these images about about 4 full-power pops with an Alien Bee 1600 walking around during at 6 second exposure at f/13, ISO super low. This room was pretty much pitch black inside with zero windows for beauty light. But if you look in the areas of the white light emanating from the doors and side walls, that flash mystery was brought to you by some kern-photo flash and a multiple-flash, single frame technique.
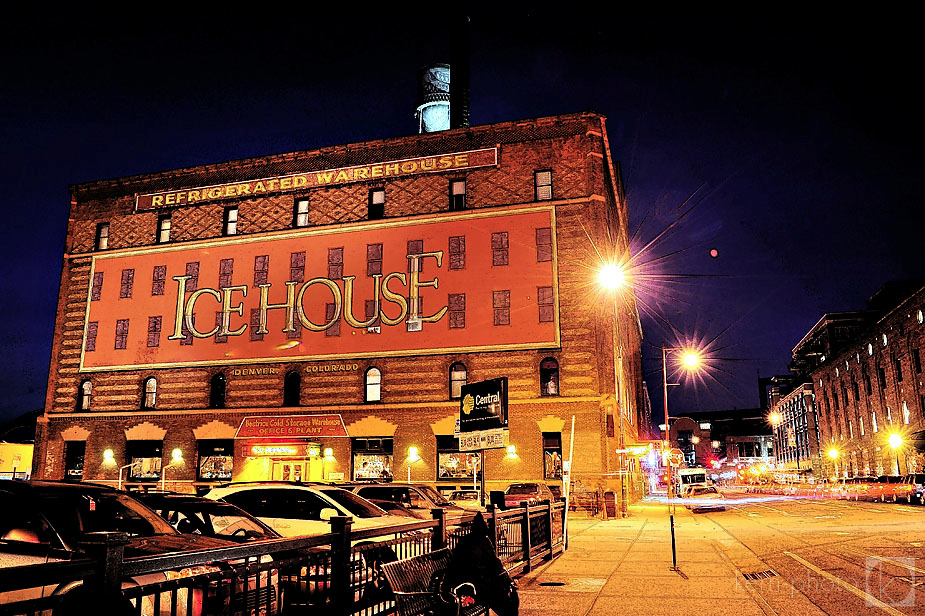
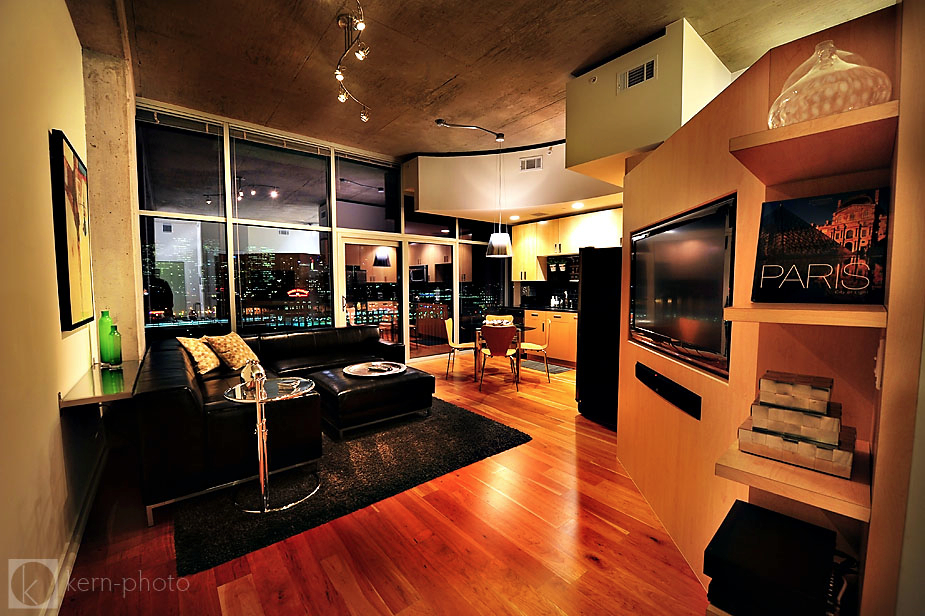
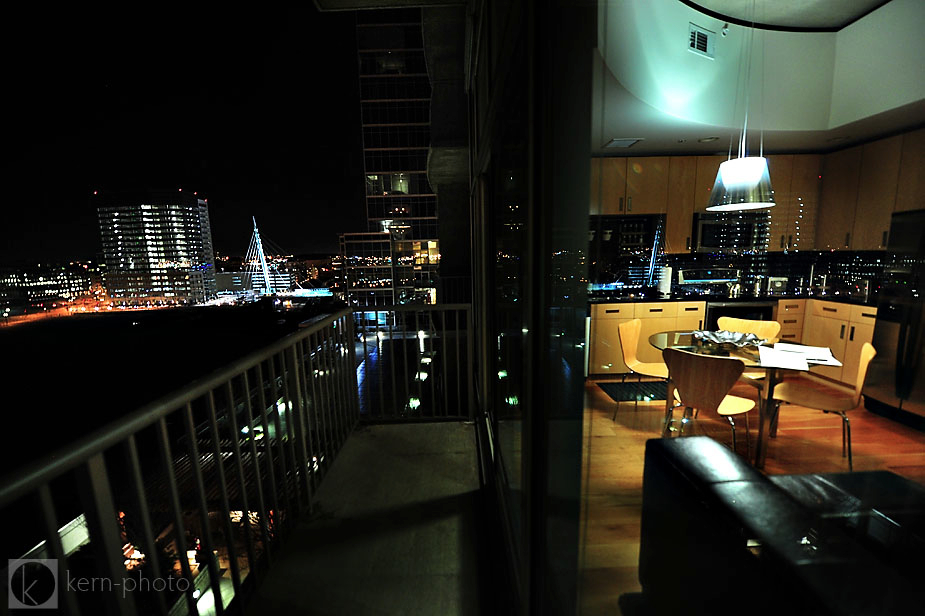
Once that little project was completed, we headed over to their condo on the rental market to shoot some interior architectural images. Again, not the sort of thing I bill my talent at, but when a friend is in need, I’m there with a helping hand. In my opinion, if I was to choose day or night to shoot, hands down I would choose night. There is a far greater dynamic range of the camera worth capturing and many of the similar images that might be taken with a point and shoot are taking during the day. If we wanted to create images that really stand out, the taking them at night with a super wide angle lens and a tripod is the way to go. Just be sure to turn down the lights enough so you minimize super hot spots in reflections from overhead lights. Here are a few of the favorite images: