Posing Tips for Couples
Show a person their portrait and they will most likely search for flaws immediately. As a photographer, we should speak to those insecurities by not emphasizing what our clients feel are their weaknesses. How? Be specific about what we shoot and show how beautiful they can look. Photojournalists might ace the expository essay, but what’s the point if clients don’t look and feel confident and sexy?
Different body types react to different angles. As wedding photographers practice, they should learn what works and what doesn’t. Magazines like Harpers, W, Vanity Fair, Marie Claire, and In Style inspire. However, most clients are not models. The goal for natural posing is to create a realistic, flattering, natural, and sexy portrait. It’s the PHOTOGRAPHER’S fault if a client looks goofy in a pose.
I see a lot of bad bad bad posing on The Interwebs. Myself, I’m guilty, but have learned from my ways. I used to try too hard to pose. Ultimately, now, I want my clients to look, and feel, like models of themselves. Real and genuine.
Which is why I share my black book of tips for future clients and competing wedding photographer alike. For free.
Three “P’s” of Posing (Peas & Carrots):
- Pre-visualize. Sketch out poses and keep them in one place, a notebook or iPhone. Take photos of clippings from magazines and load into your iPhone by creating an iPhoto folder called “Posing Ideas.” Study those the next time you wait for the barista.
- Pass notes. If desperate, share the iPhone photos with the client on location so you both know the goal.
- Practice makes perfect. That’s wrong. PERFECT practice makes perfect. In advance, practice directing your different poses with a friend or loved one. Liking a pose is one thing, but making it happen is art.
My Top 55 Posing Tips Are 100% Pre-Visualized
When all else fails,make the prom pose happen in your style.
Have them hold each other tight and FEEEEEL the moment.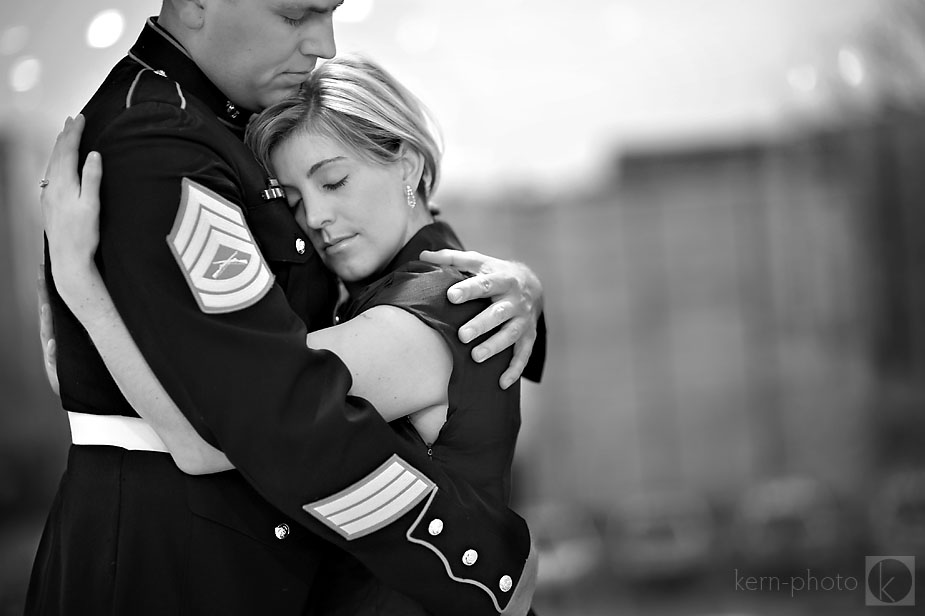 Break rules and turn couples away from each other to create visual tension.
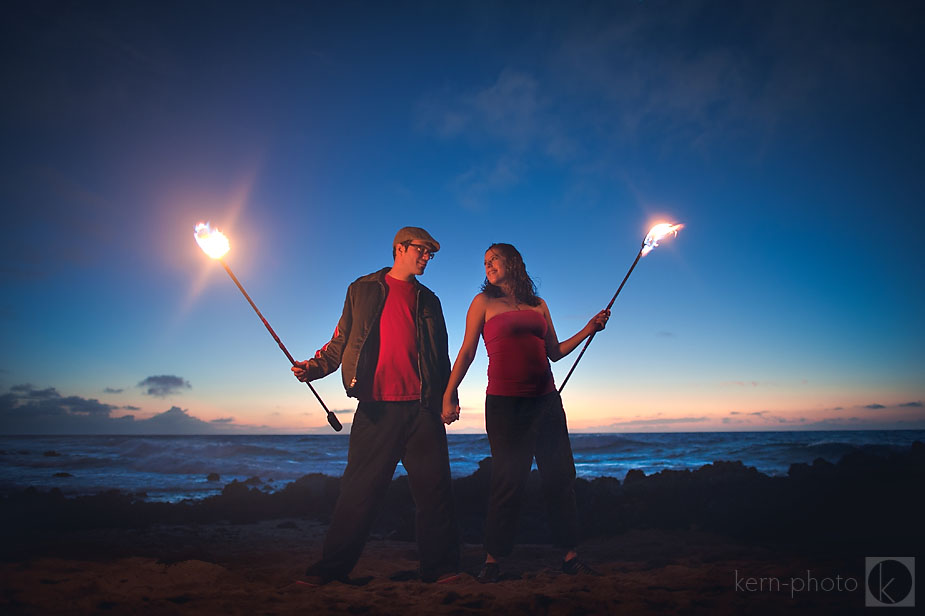

 Then split them apart for extra visual tension.
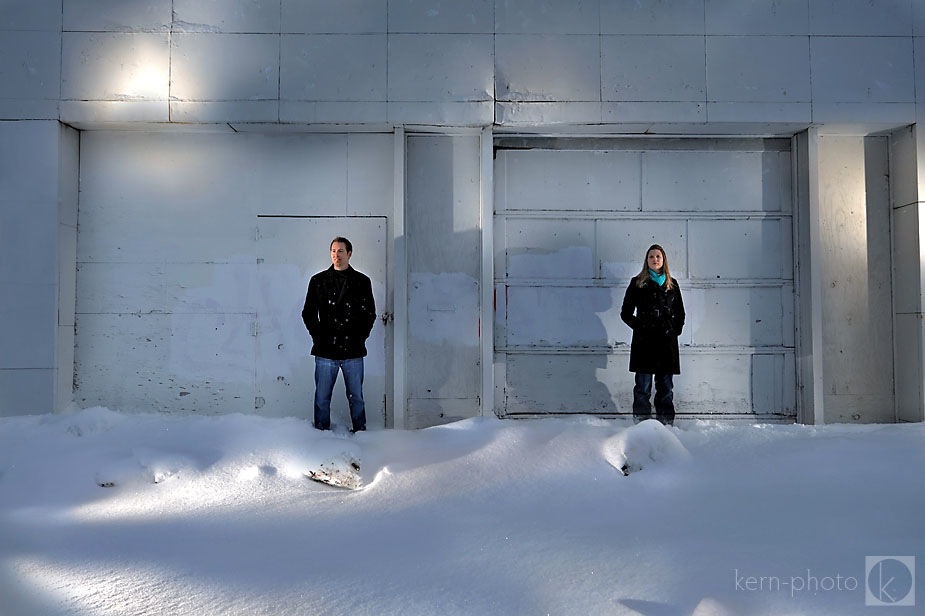 Master the Fu-Mancho arm pretzel and you might get a black belt or a deadly funny-romantic pose creating leading lines and interesting perspective, with emotion to boot.
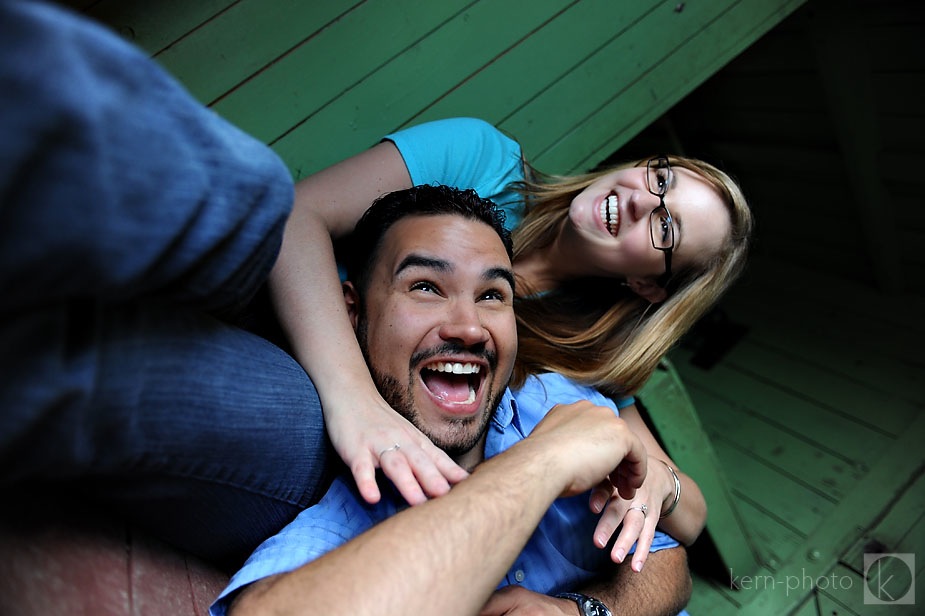
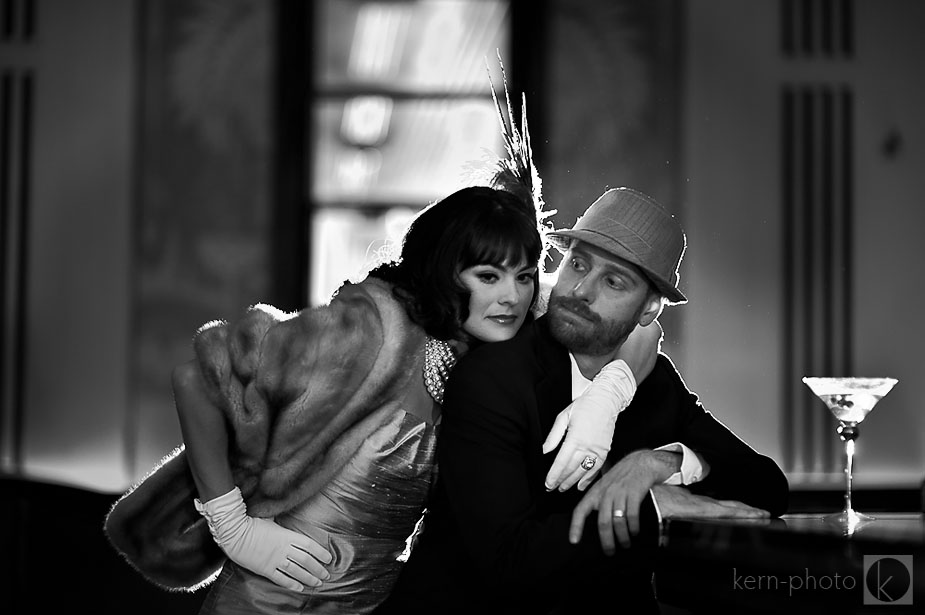
 Stage it and fah-get-a-bout-it.
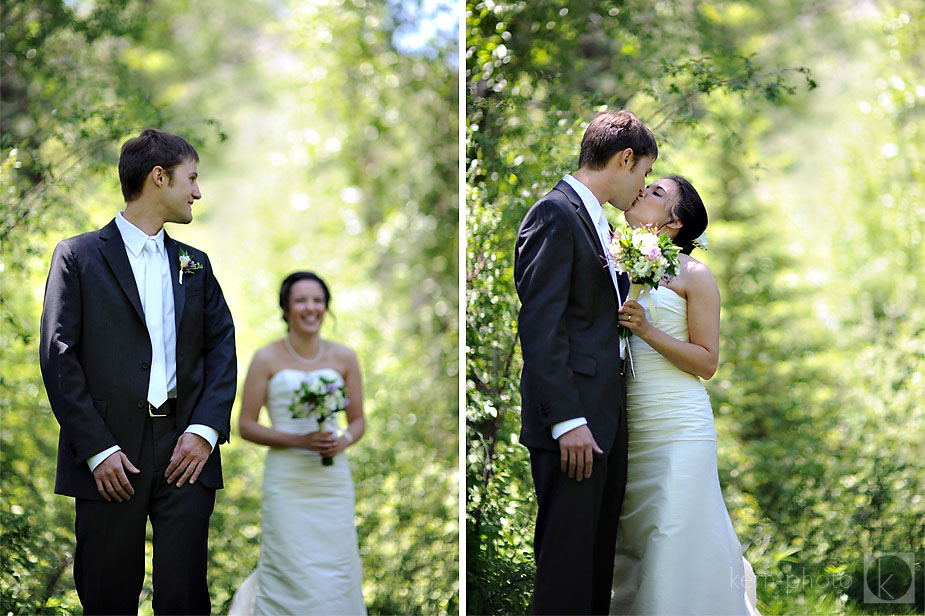 Forehead to forehead.
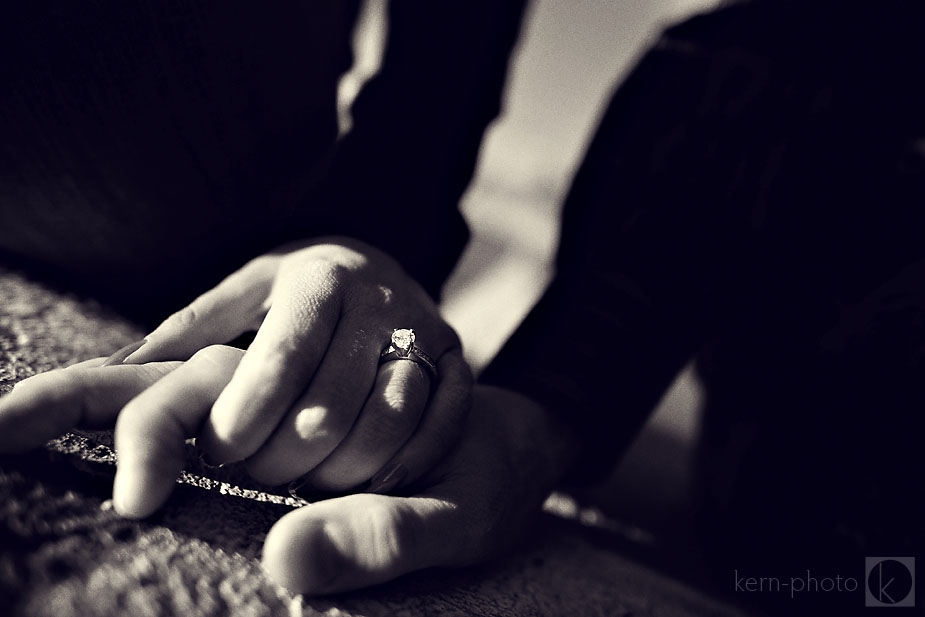
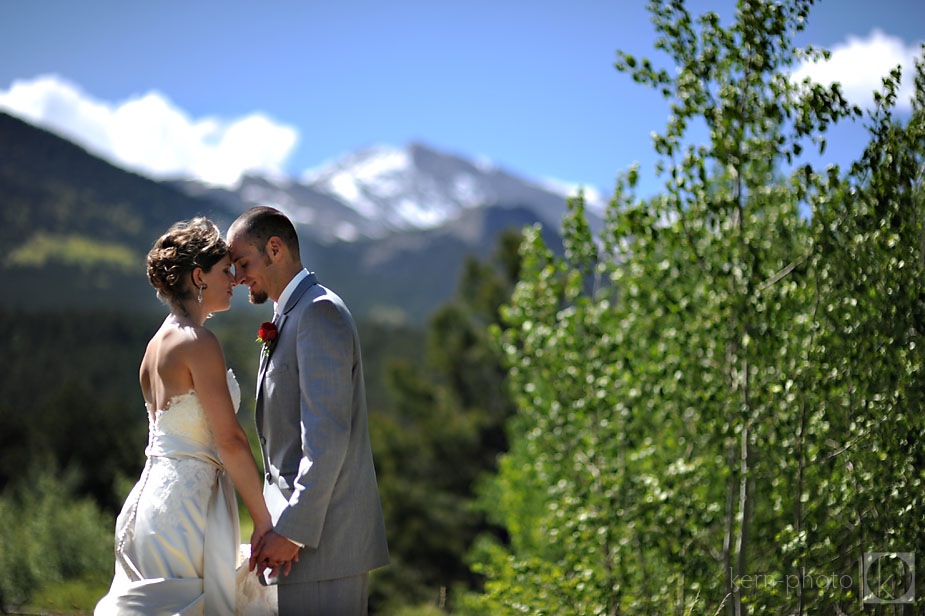 Then add the hand with the ring toward the camera to show off the bling. Just be. I tell this to my newlyweds all the time. Creates genuine emotion.
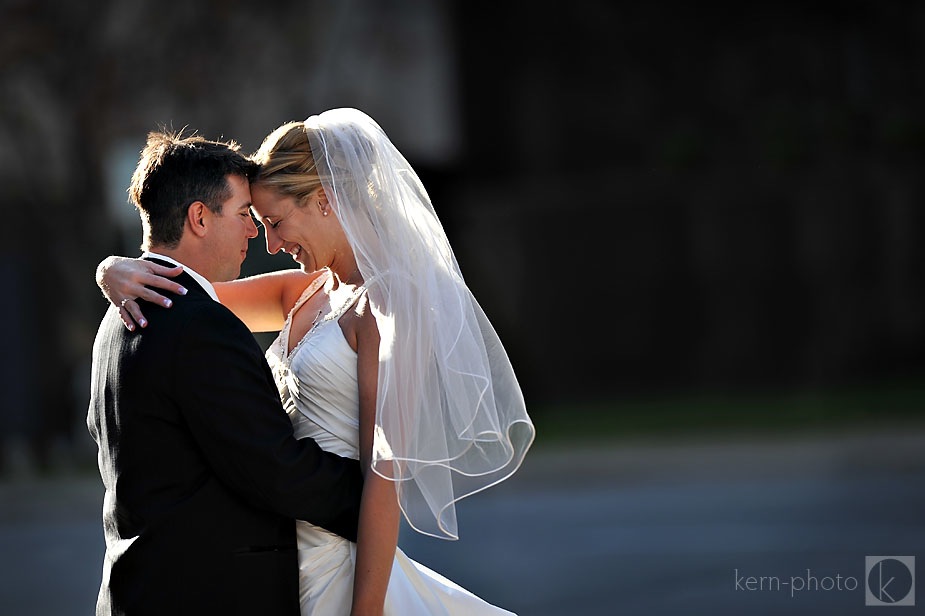 Master the 90% kiss.
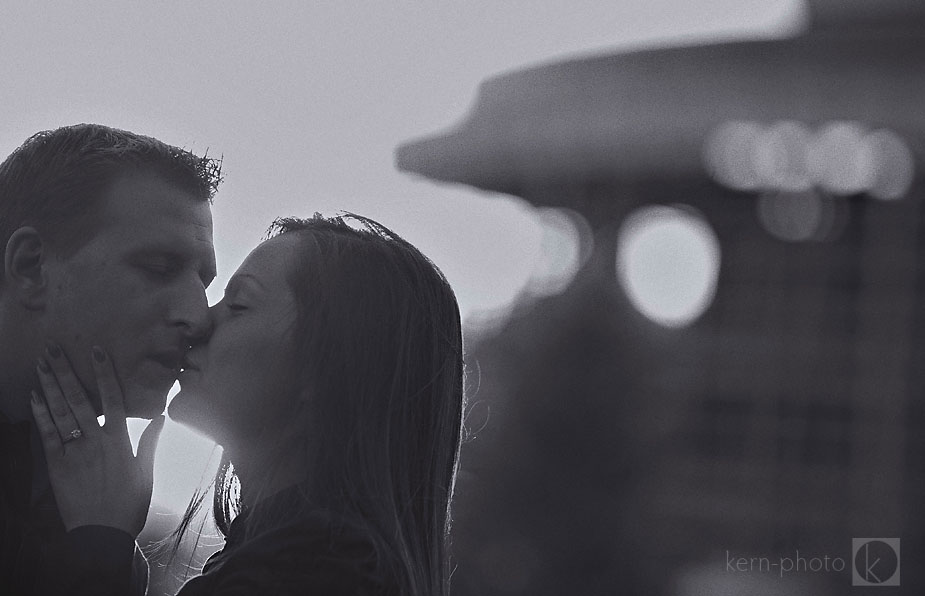 When the moment is right, LOVE IT UP. Smack dab kiss!
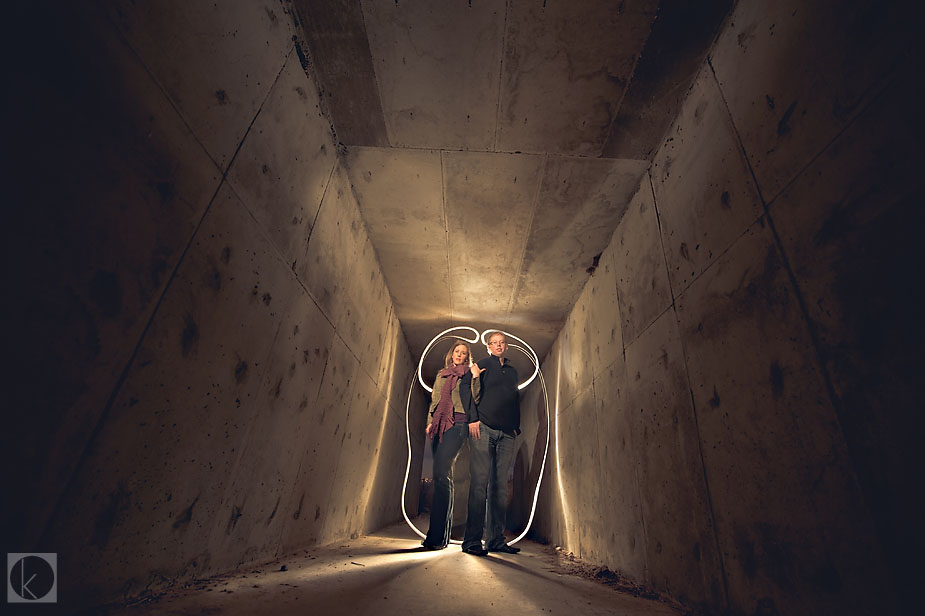
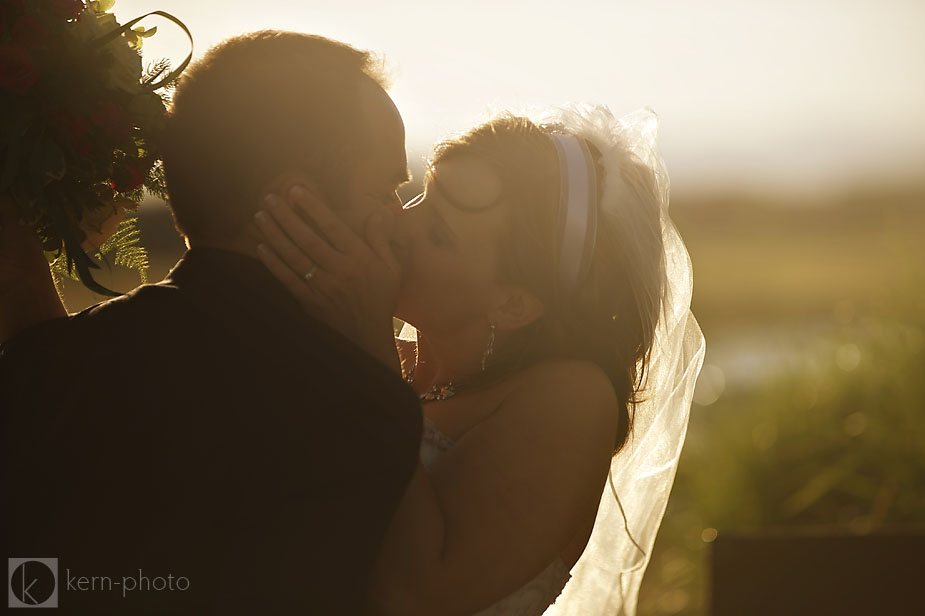 Lighting will make or break any photo. Be creative, otherwise you’ll look like everyone else in the phone book.
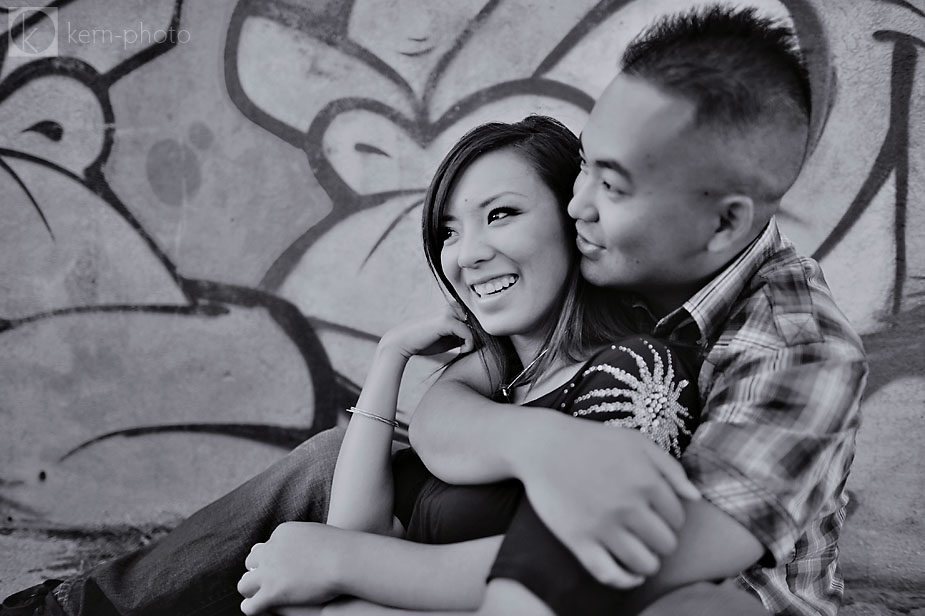
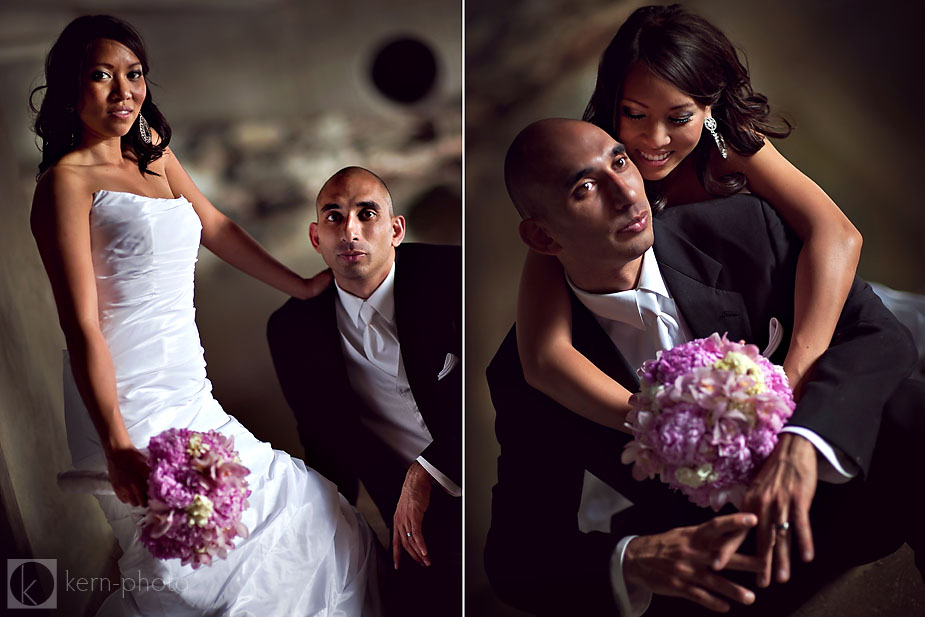
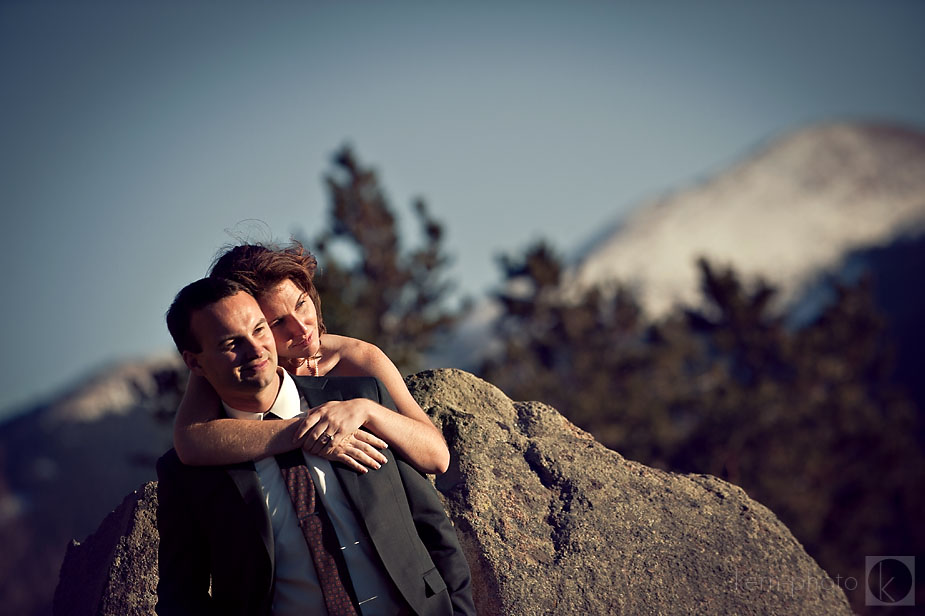
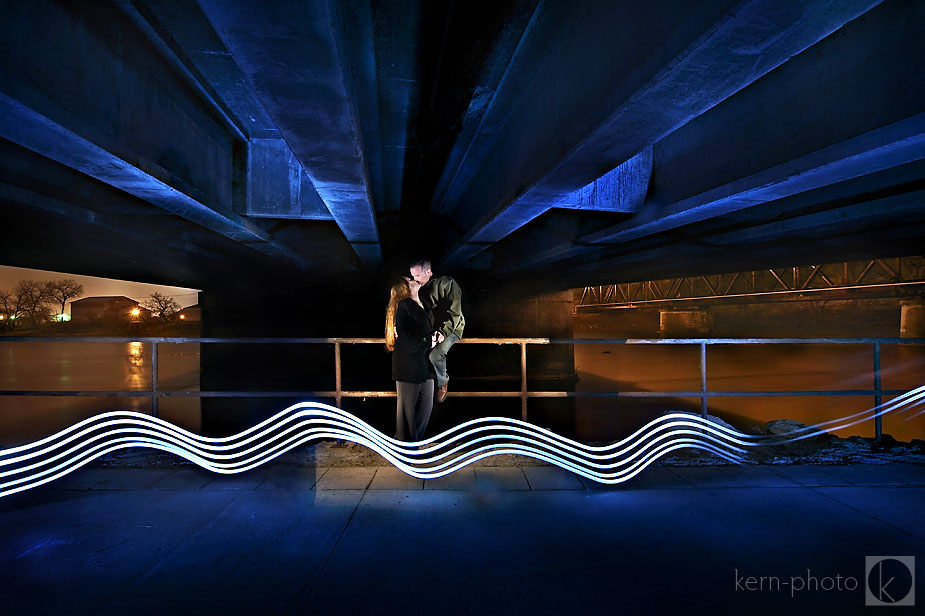 My classic pose: girl leans into guy.
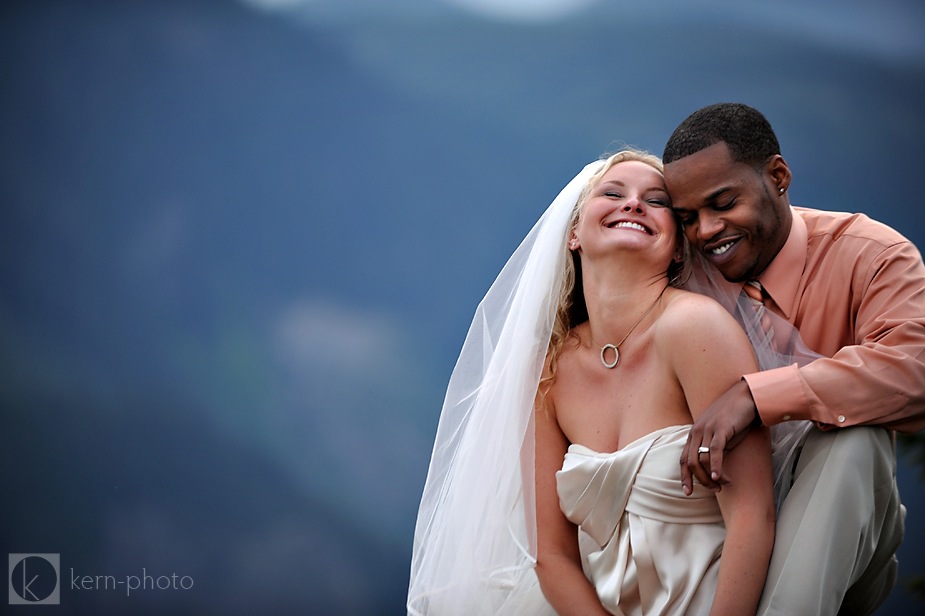 Works again…
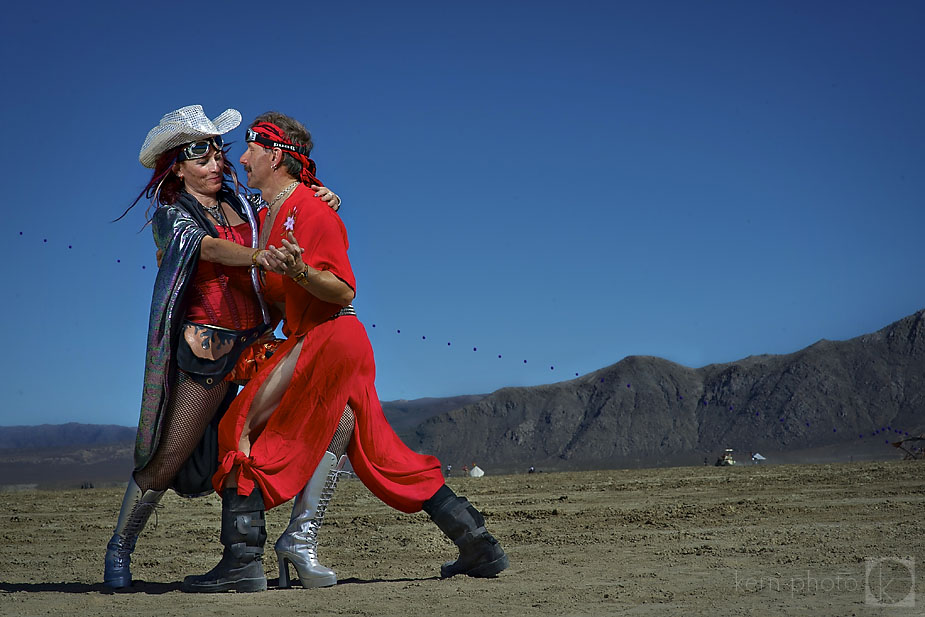
 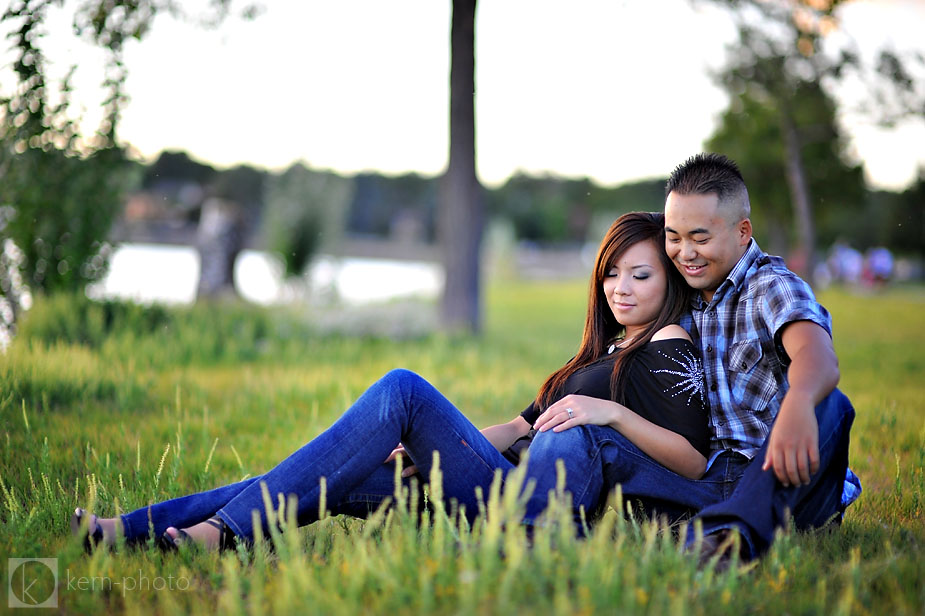 And again…even at Burning Man in the Black Rock Desert, Nevada.
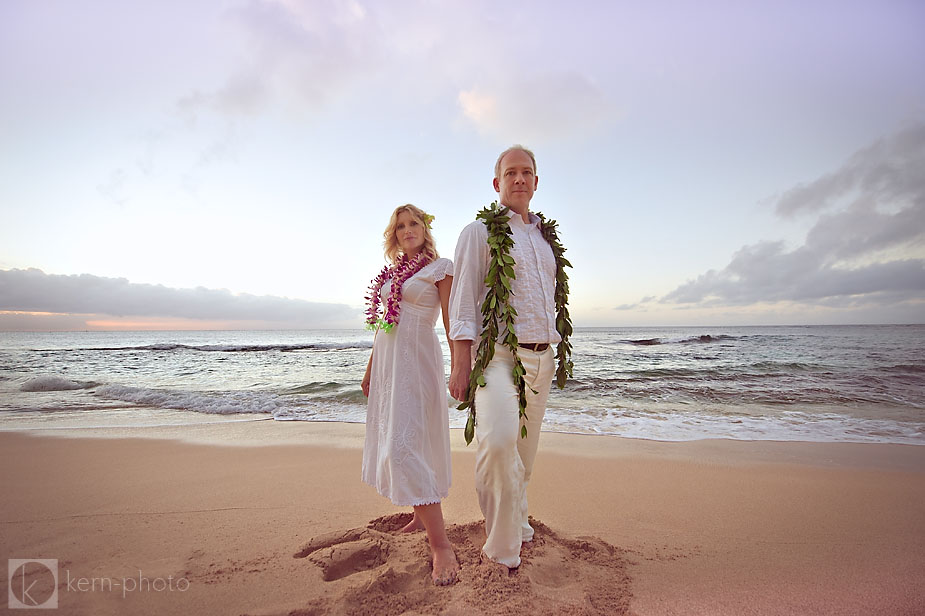
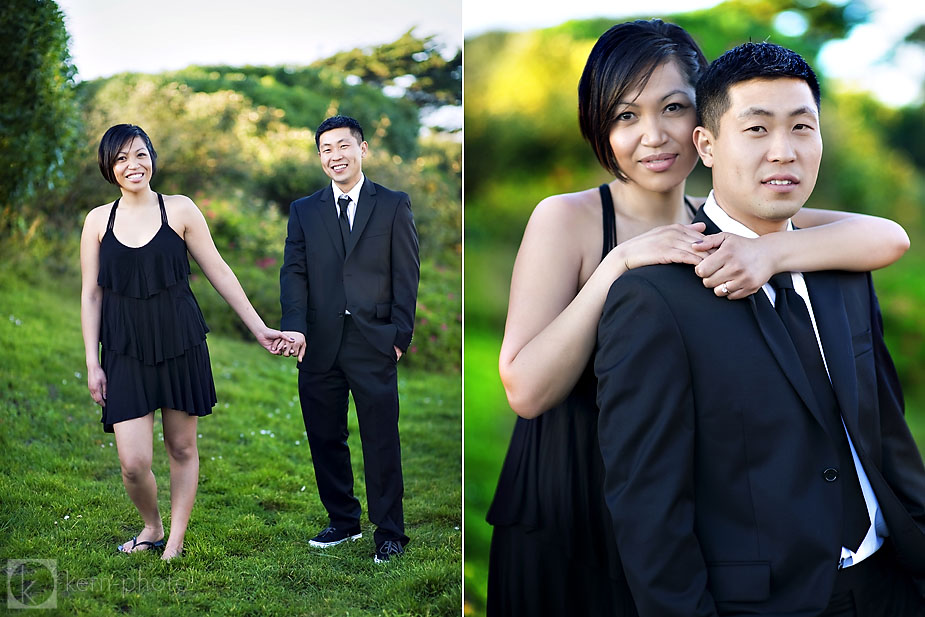
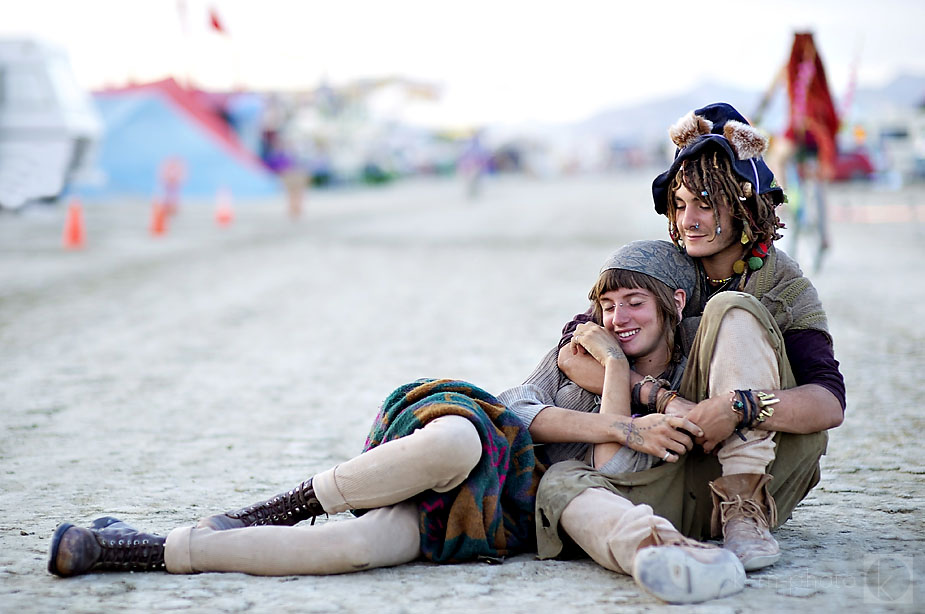 Remember location. Give them a reason to be there. Walking, stepping, relaxing. Shoot wide to emphasis place, keeping mindful of the importance of environmental portraiture (portraits of people in a special place). This time, San Francisco Bay.
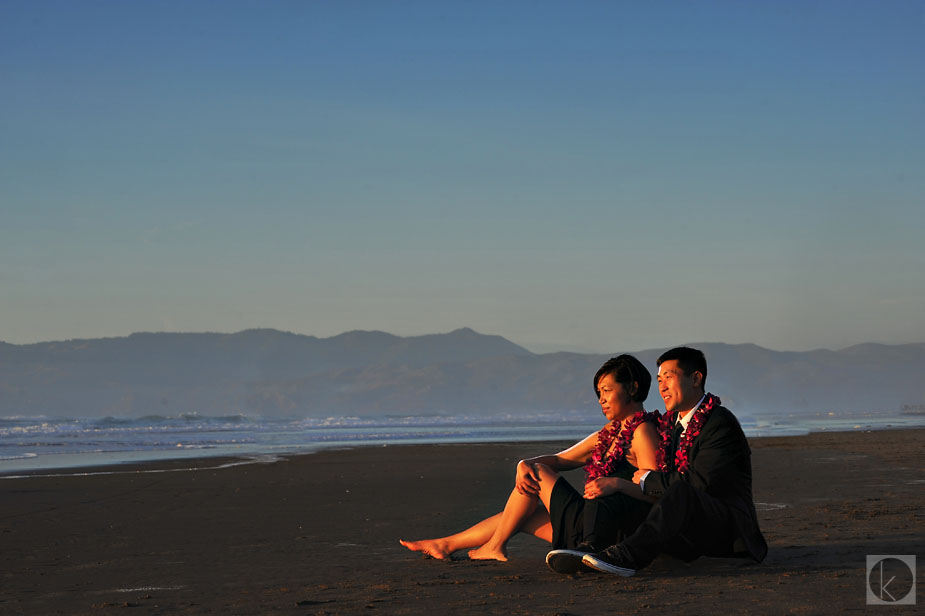 And again, girl into guy.
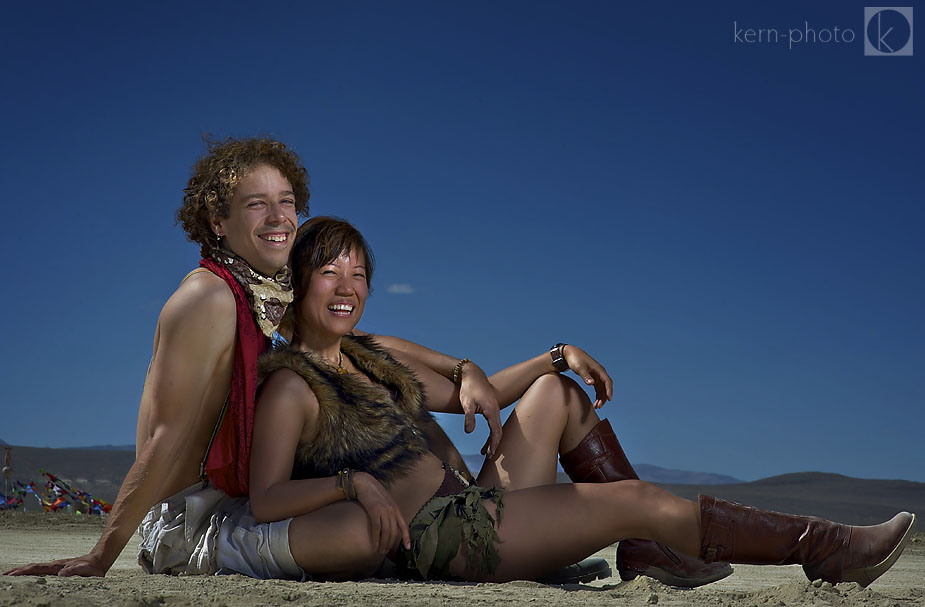 Vary up perspective and shoot from above.
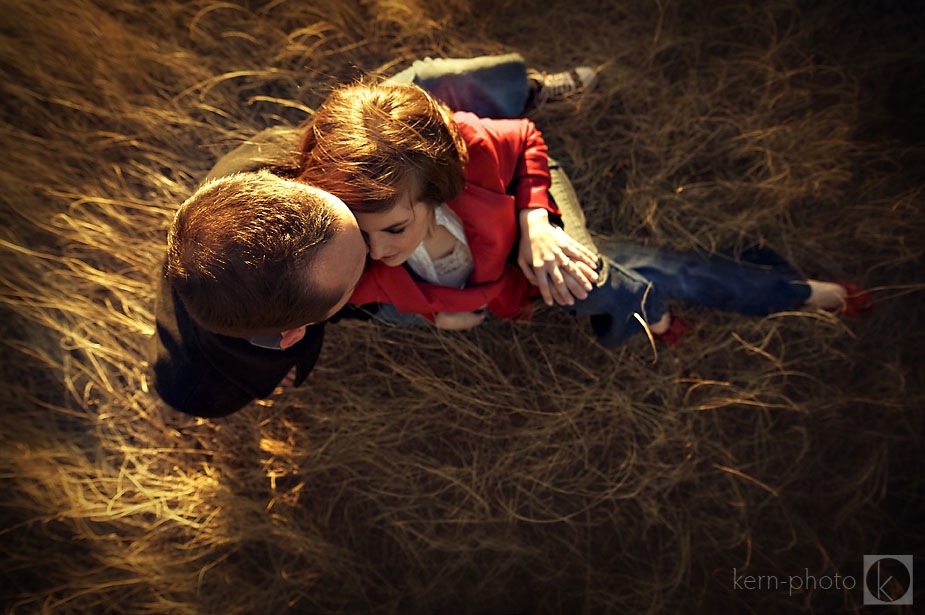 Or predict a candid and all the while lay her into him (and he’ll love it!!!):
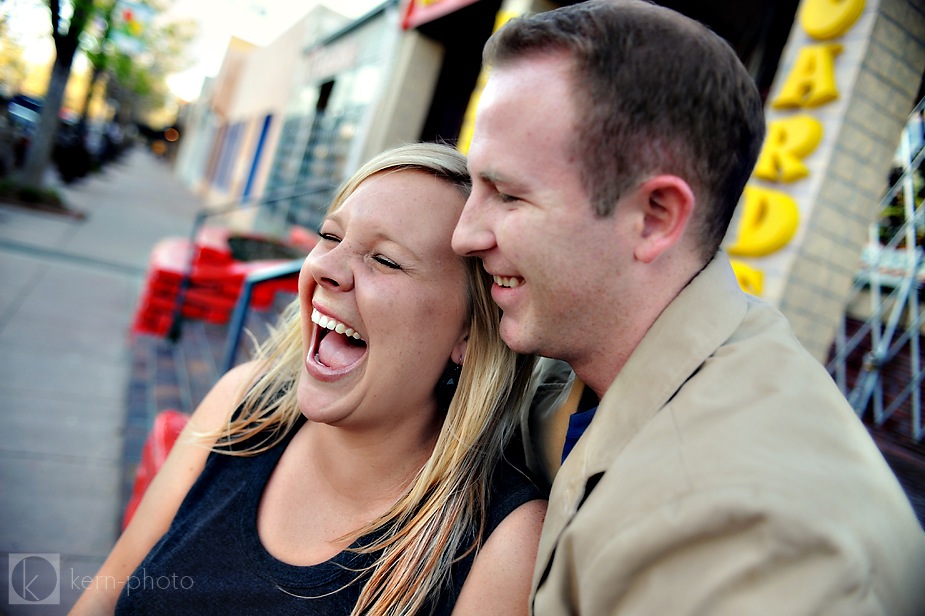 Let the girl take control and the guy relax for a chance. Heaven do not forbid!
 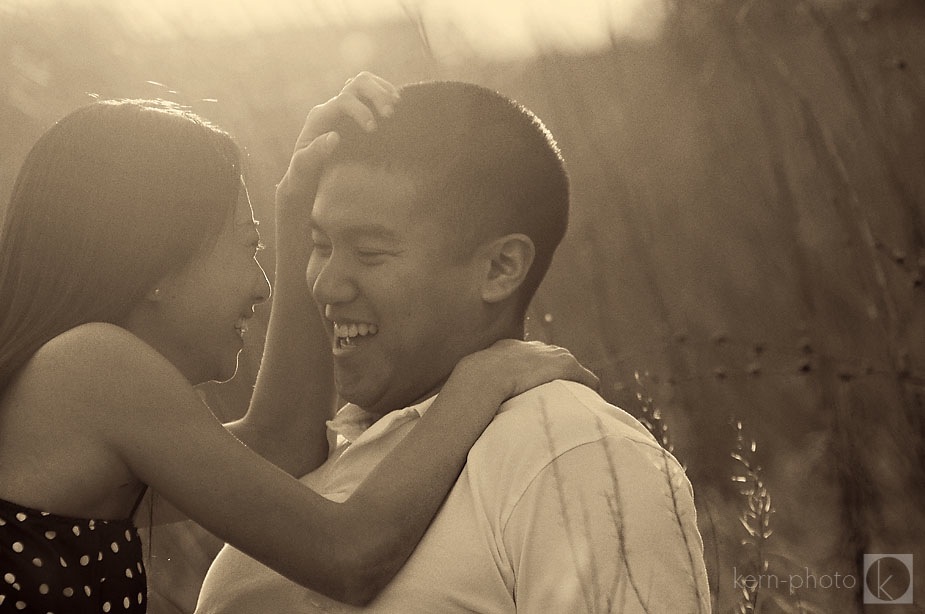 Show your love, without kissing. This forces them to touch, feel, breath with arms around each other.
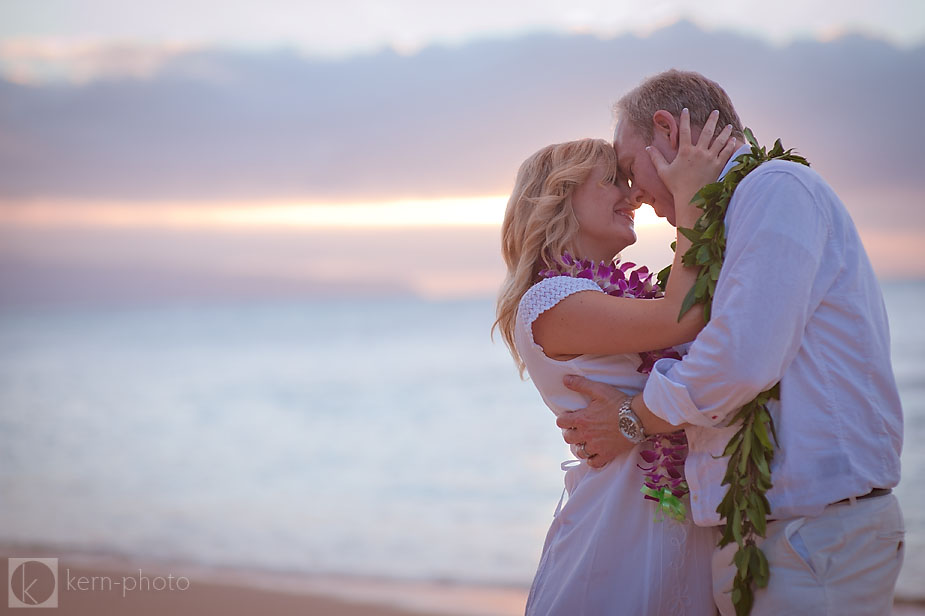 Then there’s the simple role reversal, let the guy do the action without kissing. Have him show his love to her without kissing, using simple expression.
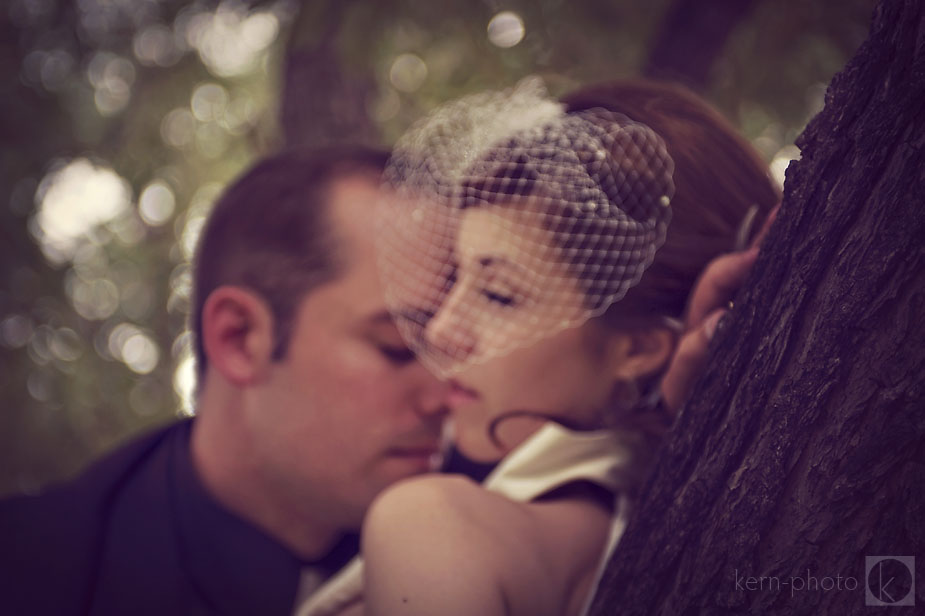 Just dance. The hands will do the rest.
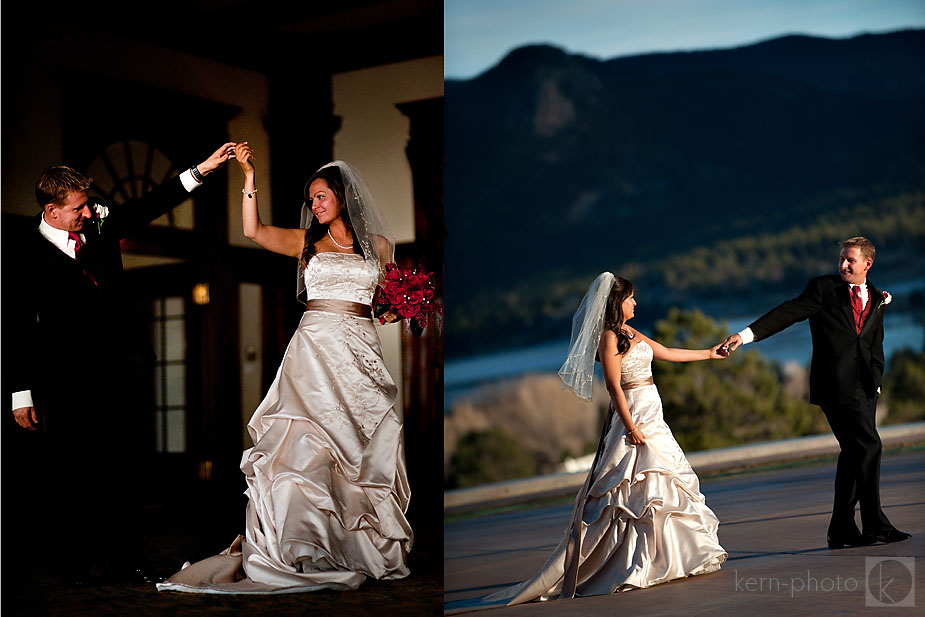
 Hands can serve as circles or leading lines to the face and eyes.
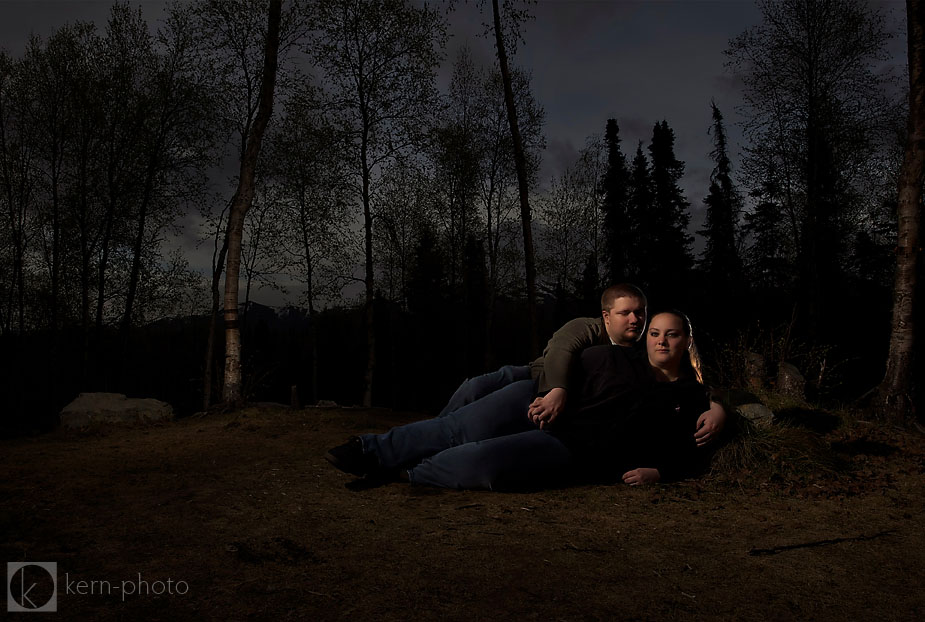 Note the fingers turn back towards the eyes.
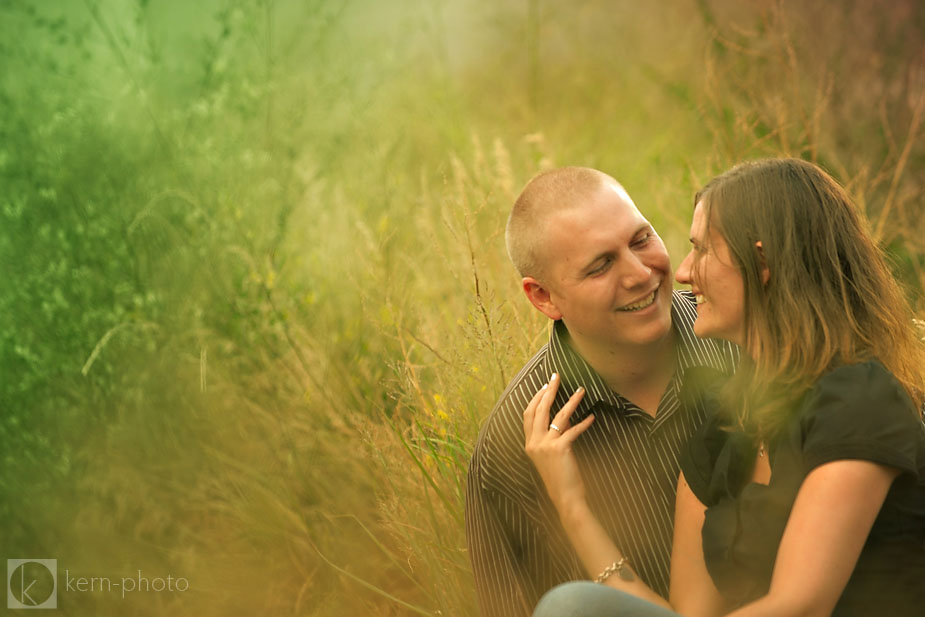 Create emotion. A laugh or tear will make that photo more genuine and special and memorable. Again, check out where those fingers are pointing.
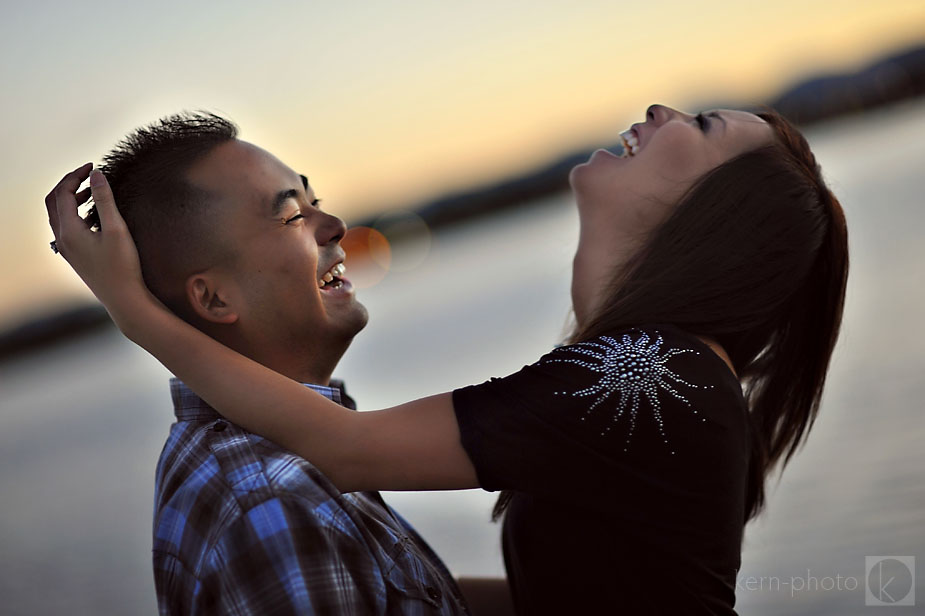 Master the power to quickly create two portraits within a few seconds of each other. Four examples:
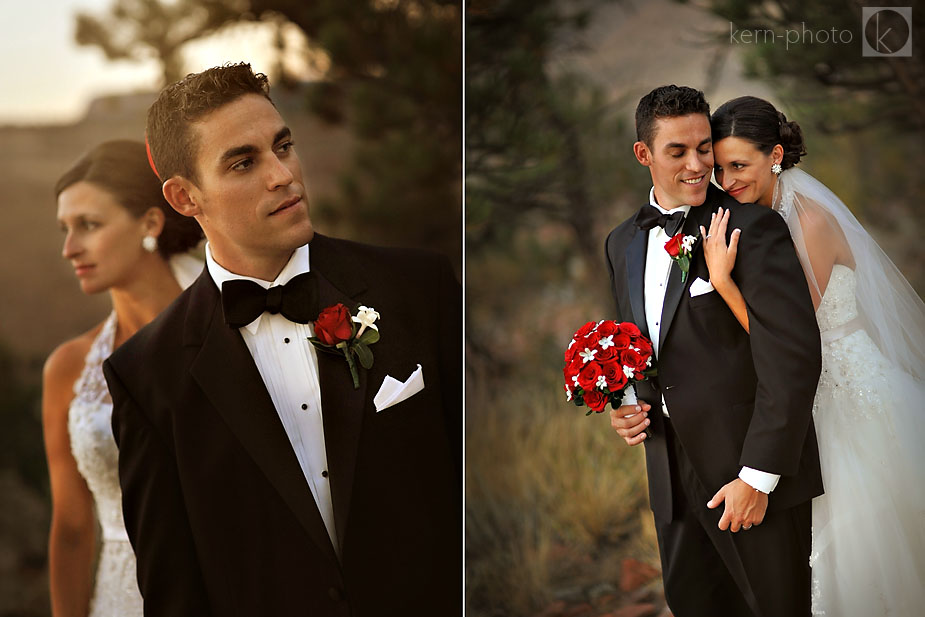
 Almost *almost* kiss above eyebrow does wonders.
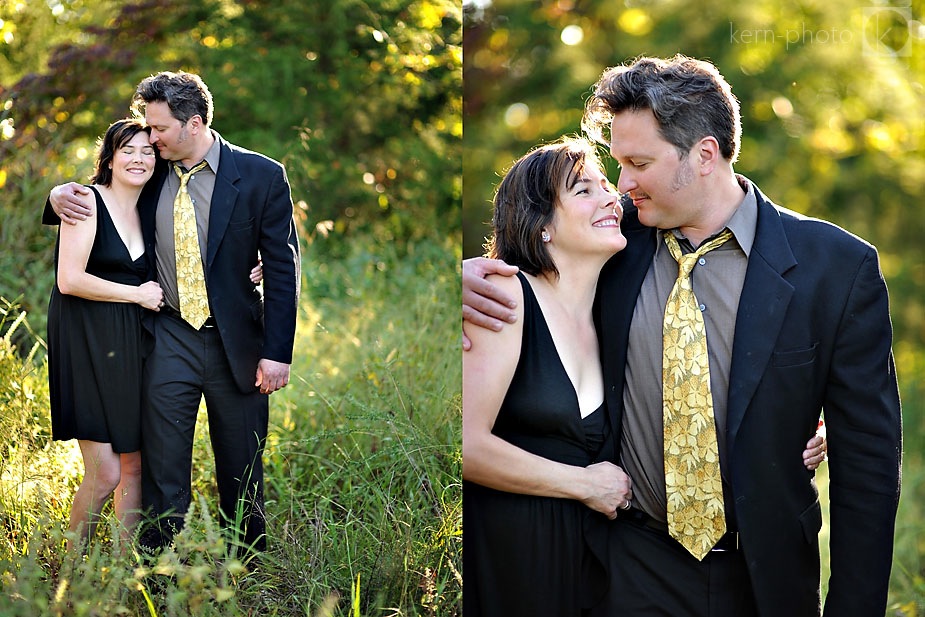 Hands on the hips never goes out of style.
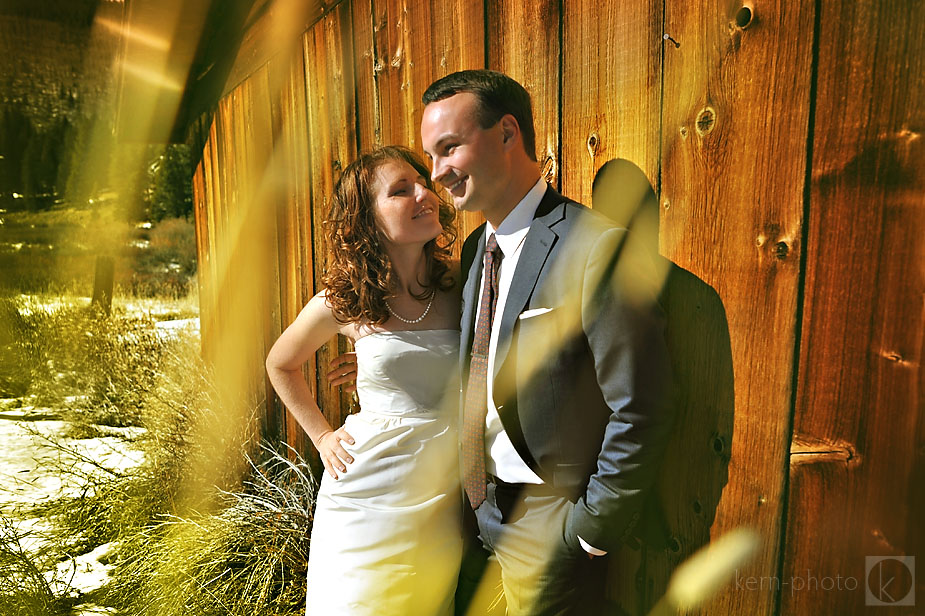
 Hands show possession, ownership, and power. Use them accordingly to make a statement, from powerful to loveable.
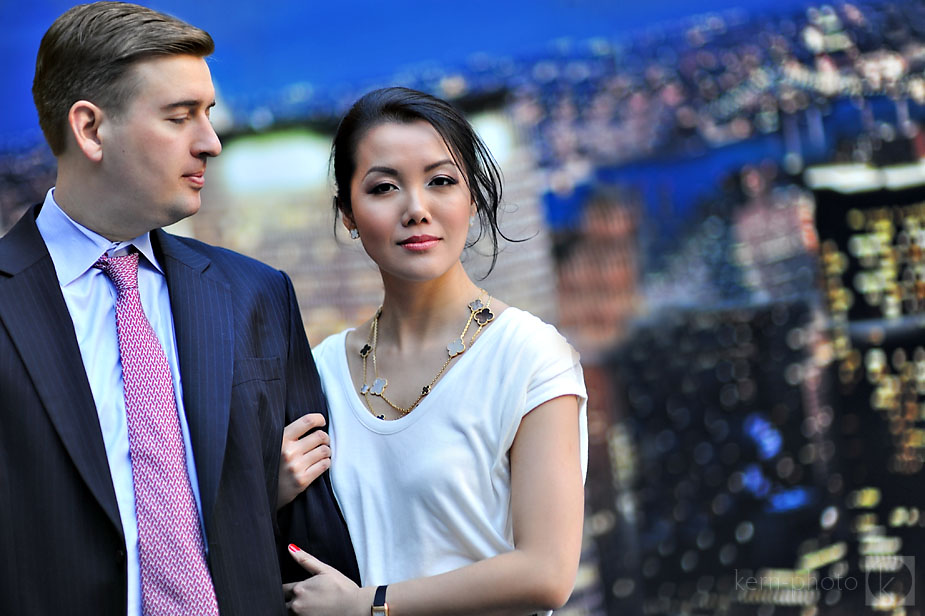 Don’t smile (to the camera). They can smile at each other, but not at the camera. Real smiles don’t usually look into the lens.
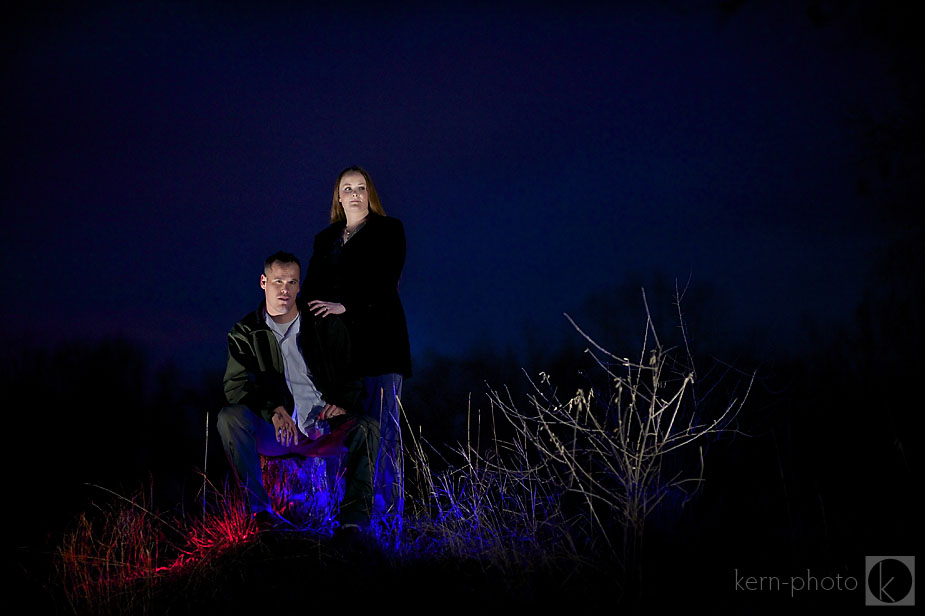

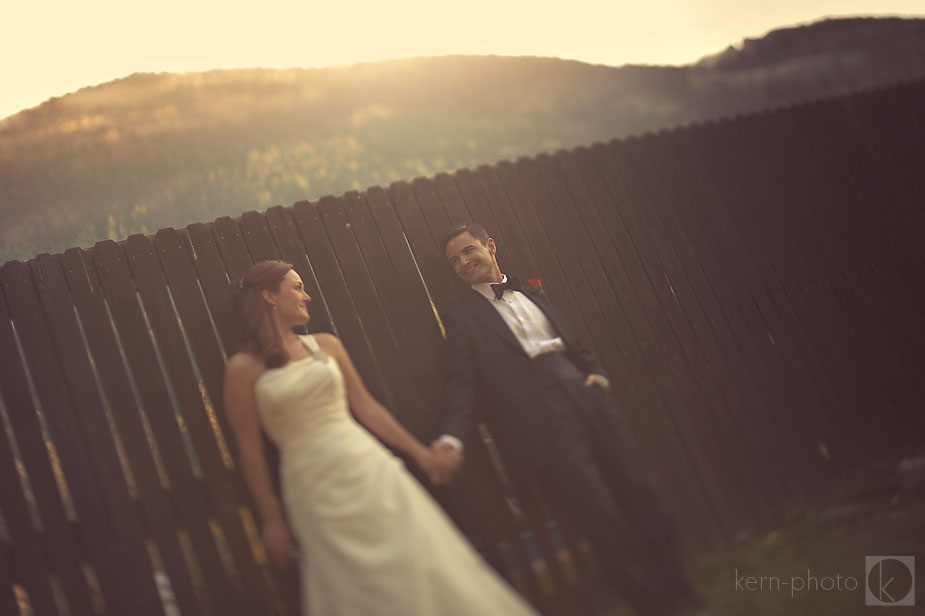
 Step away. Distance creates tension. When they look back at each other, they’ll smile.
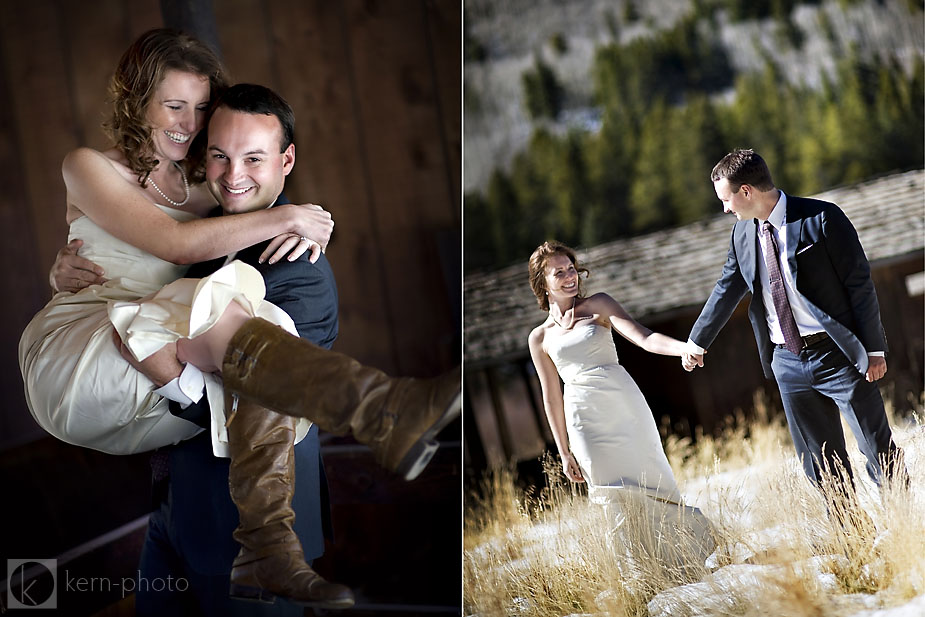 In some cases, hands distract. In this case keep them warm and out of sight.
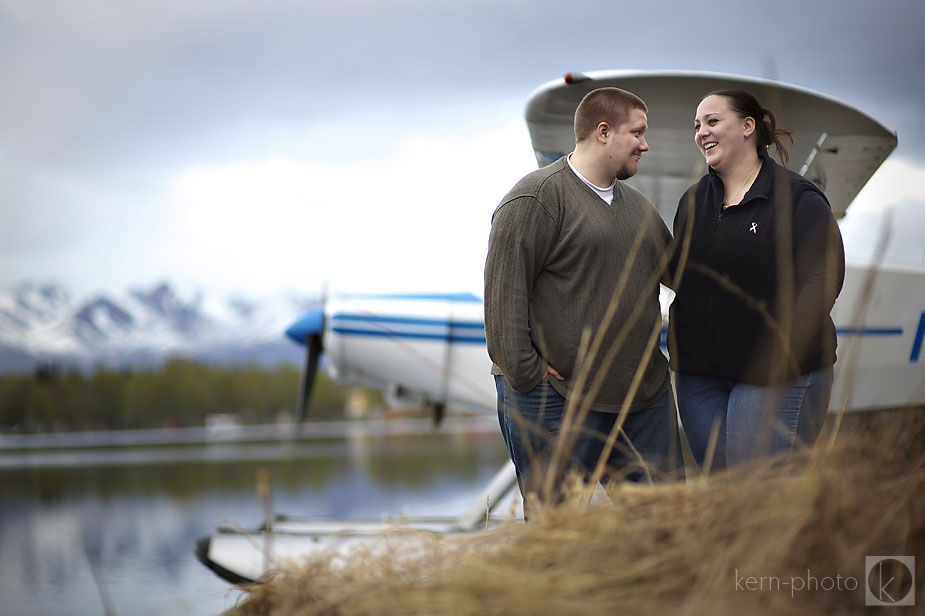 Shoot details. Close-ups of hands, feet, and lips tell a powerful story. Show, don’t tell. Happy faces don’t necessarily have to be pictured to show a happy moment. Details all the way down to the finger tips
 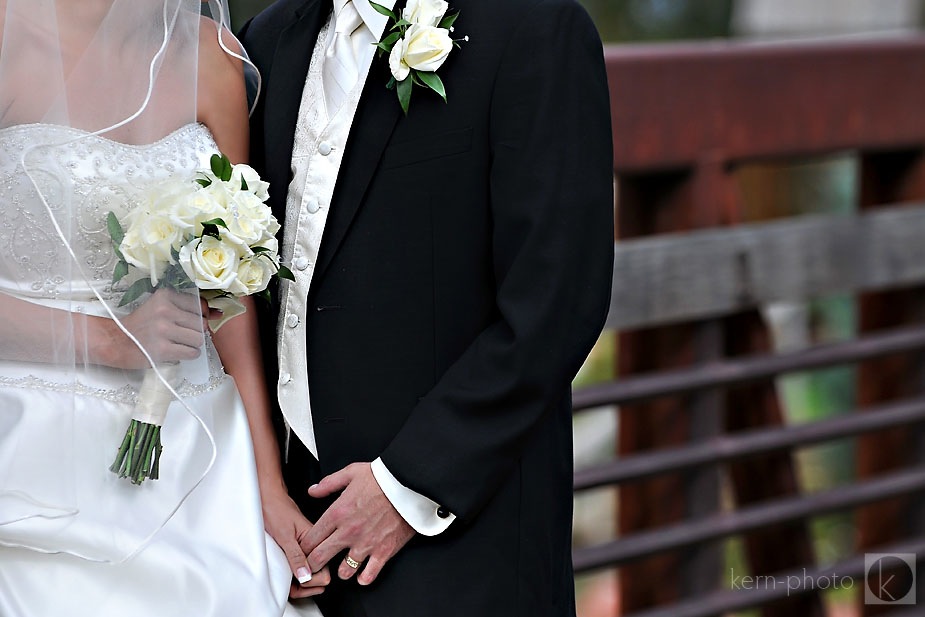 Tight denim pockets serve as a marvelous prop.
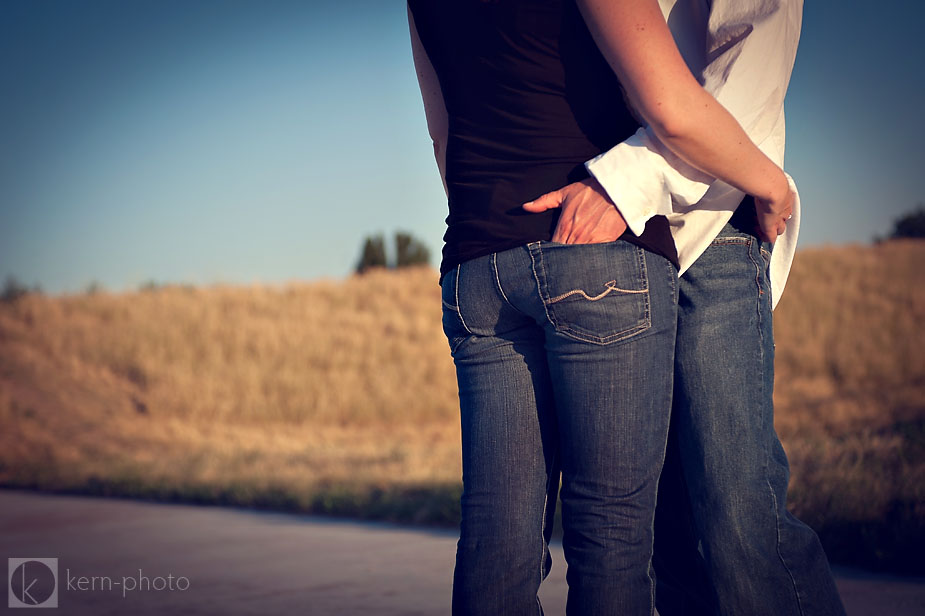
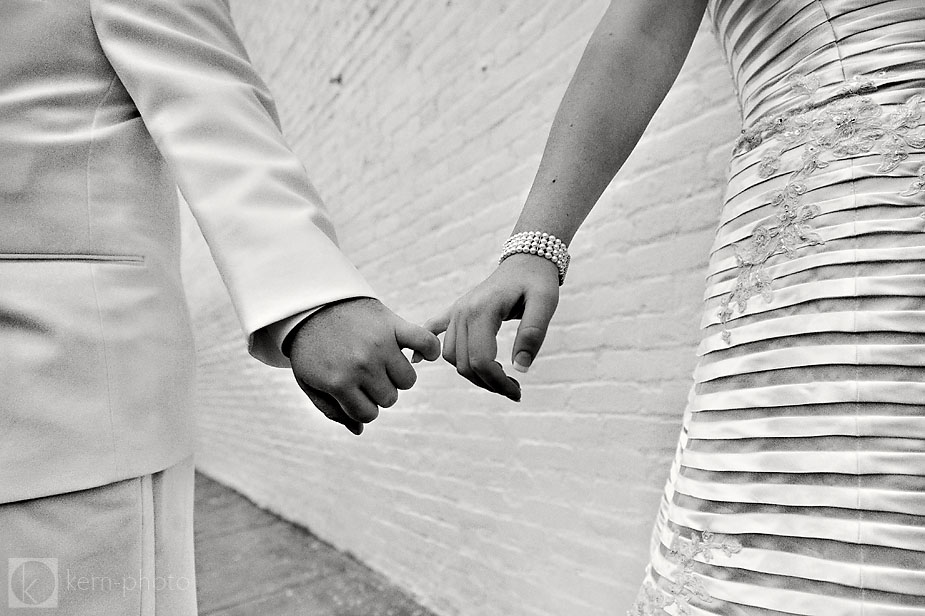
Note leading lines from the dress to brick wall to the pinky hold.
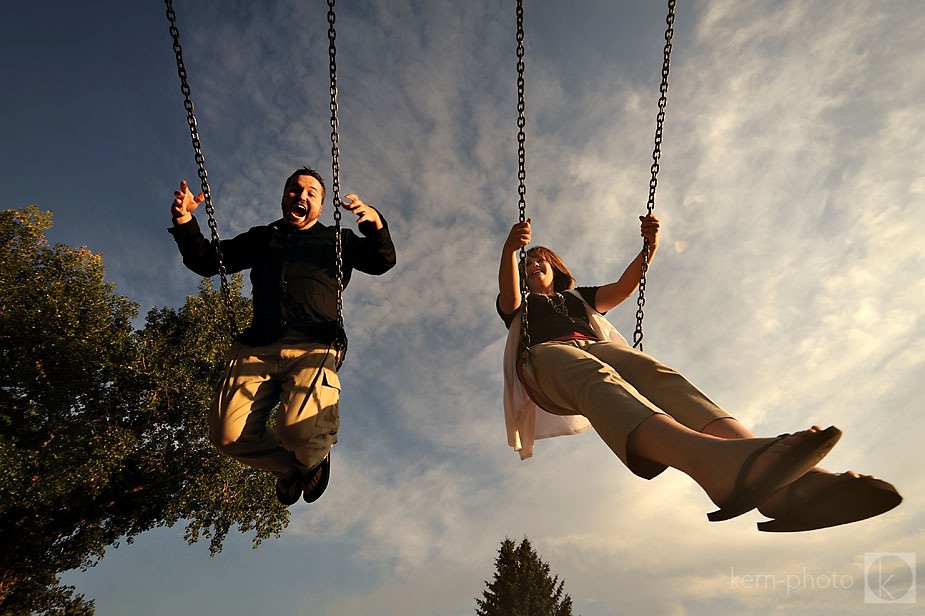
Use hands naturally to do something they normally would do, like be scared:
Hands naturally do things that come easy, like hold cupcakes or swings. Getting clients involved in doing something fun is the fun part!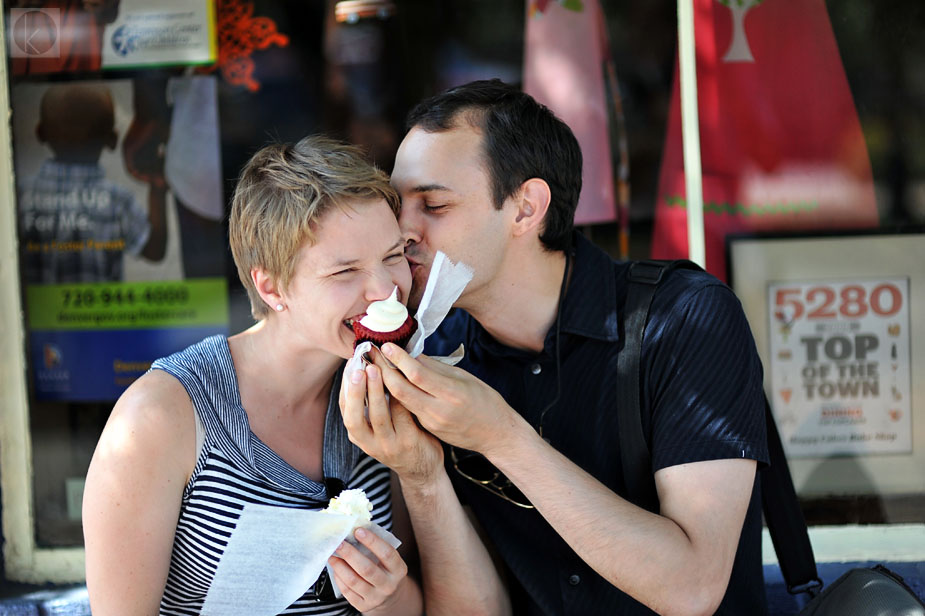
 And for every rule, there’s a chance to break the rule. This time, I used the hands to over-accentuate body gestures for the sake of humor.
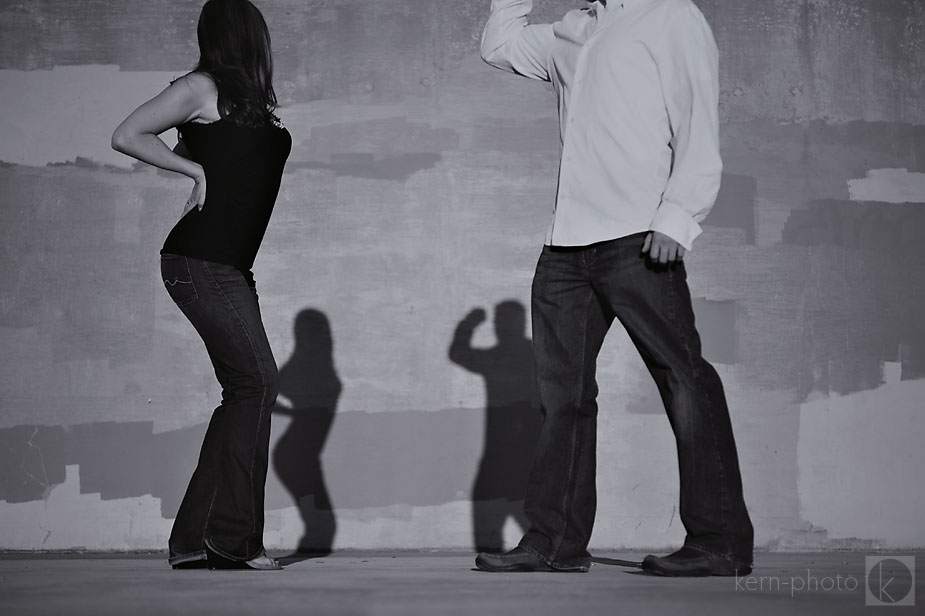
If you’d like to learn more or would like to set up a private mentoring session detailed here, check R. J.’s availability by clicking here.


Pingback: Staging Foregrounds {creative tutorial} | Kern-Photo
Pingback: The Hit List: 32 Photo Tips & Tutorials from 2011 | Kern-Photo
Pingback: wedding couple poses ideas
Pingback: How to Take Wedding Photos That Slay
Pingback: 16 Tips to Photograph Men and Pose Ideas | Furoore